Yes, I am still here!! I felt so much better after reading that you are all (most of you) obsessed with Twilight and Facebook too. Crackbook is still fun but it's already wearing off just a bit.
I'm totally lying. Every time I get a new friend request, I get all giggly and I'm obsessed again.
You all have scared the crap outta me about Twilight though. I need to make plans for my family because it sounds like I'll have my nose in a book 24/7 for a week. I'll be ready...soon. I have about 105 things I want to get done first. I'm sceeeeered to start reading!! :)
But I told you I wouldn't let you down...here's a project I've been thinking about doing for a couple weeks now. Remember these walls in my bathroom that I molded-up?? (That doesn't sound good, huh?) I've enjoyed how clean and simple these were but in the back of my mind, something was always bugging me. I mean...they are frames...meant to frame something...so I had to do it.
Remember these raised jobbies that I showed you here?
Well it's time to show you how to do it yourself!! You will need spackle, a putty knife and a stencil: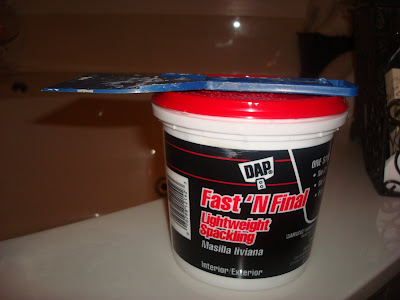
I got one of these at Hob Lob for 40 percent off:
I love these stencils...they have so many options and they are LARGE.
Then I found the center of my "frames": I taped the stencil up, making sure it was level. Then I taped off the spots I didn't want to be included:

If you are using the whole stencil, obviously, you can skip this. Now, here's where I make this take twice as long as it should...

When I say "just mix them together" -- I mean it. It's easy. Just make sure there's not too much paint. You will need VERY little paint. You want the spackle to have it's spackle consistency. It will end up like frosting and you will want to eat it:

Get some on your putty knife:
 See, don't you want to take a lick????


Ummmm... I LOVE IT!! I was going to keep going with them but decided I like just one per frame...any more would be overkill. (But in a bigger room, that would be GORG!)